
My toddler, Grant has been obsessed with anything on wheels since he could reach for toys. Cars, trucks, trailers-you name it. His first word after “mama” and “dada” was truck, and I still hear it about 500 times a day. 😂
Recently, I decided he needed a special toy car garage for his growing collection. After browsing online and not finding anything I loved (at least not for a reasonable price), I got inspired to repurpose a small bookshelf we already had. With a few personal touches, it turned into a fun and functional mini garage-perfect for his vehicles!
Supplies You’ll Need:
If you’d like to make your own DIY toy garage, here’s what I used:
- 3-shelf bookcase (I used the Mainstays brand from Walmart-only $29!)
- Paint of your choice (I used white, dark blue and light blue)
- Wooden sign (I got mine from Michael’s)
- Wooden letters (also from Michael’s)
- Paintbrushes and sponge
- Sealer (I used a water based polyurethane)
- Superglue (I used both a clear high-strength tube and a smaller nozzle bottle)
- Multicolor LED light strip (10 ft for $4.88 at Walmart)
- Tarp for easy clean-up
Step-by-Step Instructions:
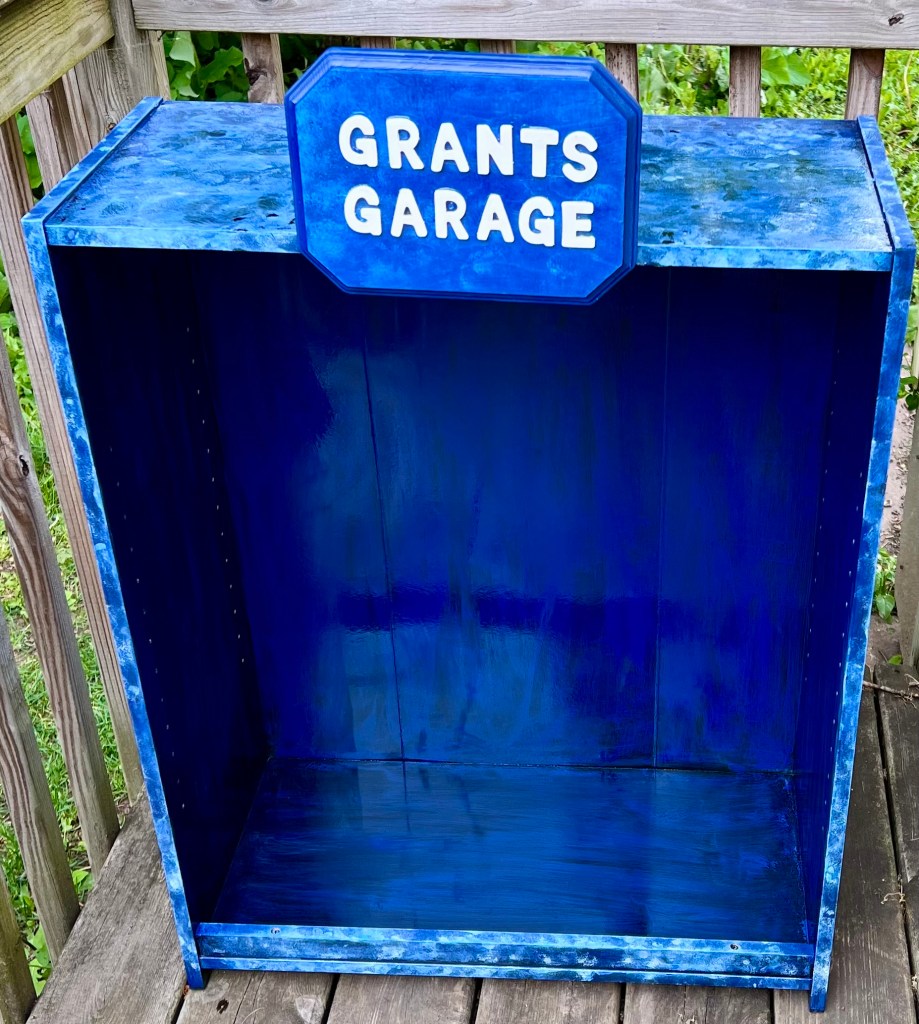
- Step 1: Paint your base. Paint the inside and outside of the bookshelf, as well as the wooden sign, dark blue. It may take a few coats to get the coverage you want-let it dry fully between coats. For a unique touch, I used a damp sponge dipped in light blue paint and dabbed it all around to create a soft, cloudy effect.
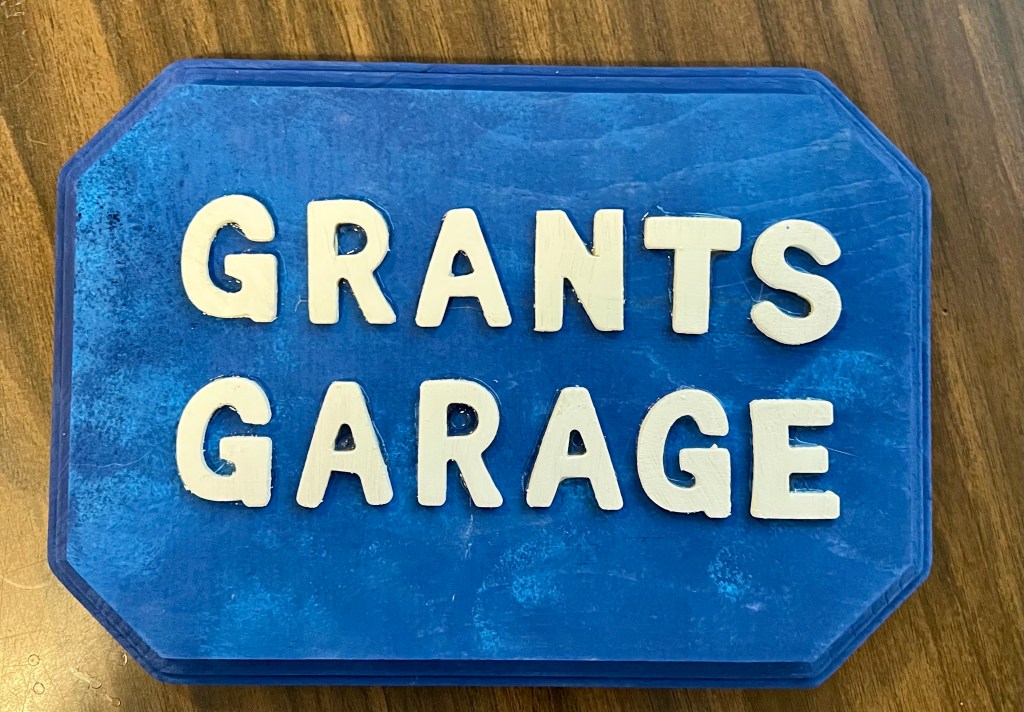
- Step 2: Paint your letters. Paint the wooden letters white for a clean look that pops against the blue background.
- Step 3: Attach the letters. Once everything is dry, use a long-nozzle superglue (for precision) to secure the wooden letters to the sign.
- Step 4: Add a protective sealer. Apply thin layers of sealer for extra durability and a nice shine. Let each coat dry completely before adding the next. (Optional-but I love the finished look it gives!)
- Step 5: Attach the sign. Use a clear, high-strength super glue to attach the sign to the bookshelf. I laid the bookshelf flat and added an extra ribbon of glue along the back for better hold, then let it sit overnight.
- Step 6: Add the LED light strip. Measure the light strip to fit along the back of the bookshelf and cut to size. We made a small opening for the cord to feed through the back panel to keep everything tidy.
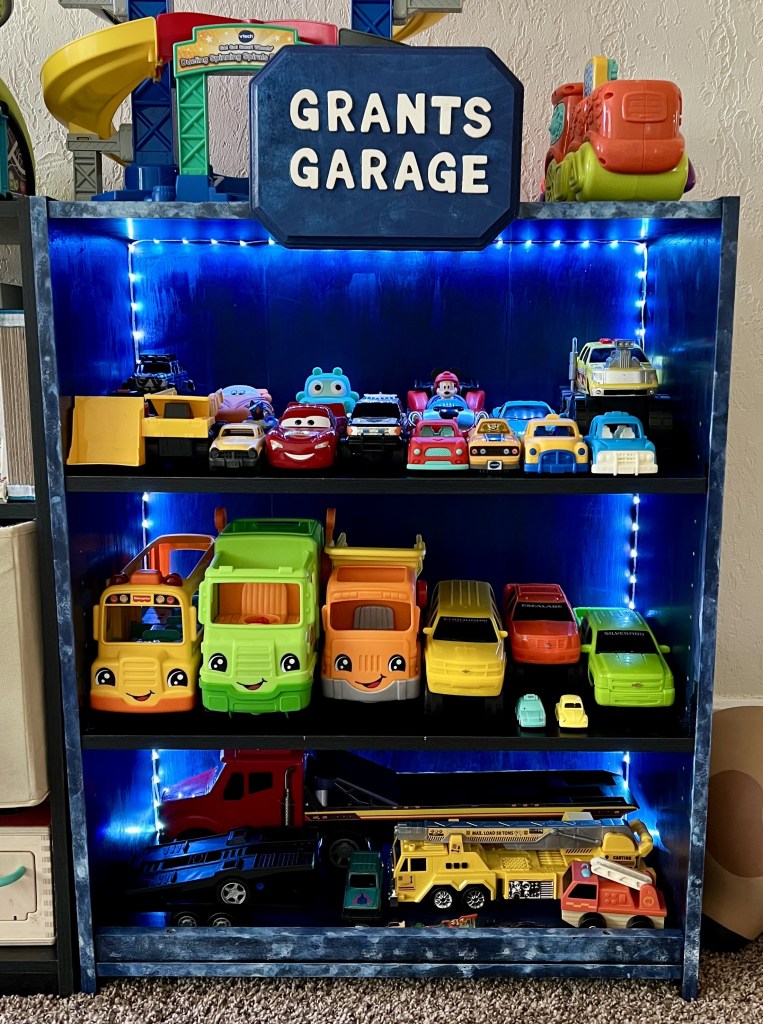
- Step 7: Fill and play! Now fill it with your cars, trucks, and trailers! Add your own creative touches-like parking lines, decals, or even a small ramp-to make it extra special. 😊
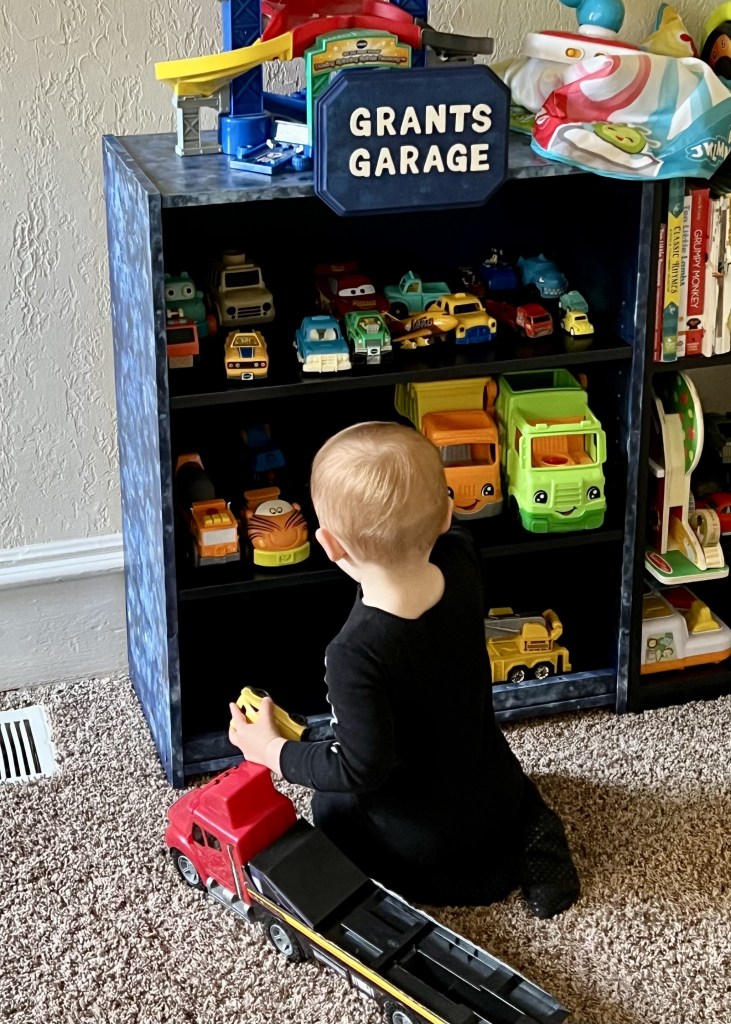
The toy car garage has quickly become one of Grant’s favorite play spots. Projects like this remind me that creativity doesn’t have to be complicated.
If you make your own version for your little car lover, I’d love to see it! Share your photos or ideas so we can inspire each other. 💕

Leave a comment